

Bringing the screw to life
Published April 30th
Author Steven Lee
How do we make our Screw feel good – and logical – to play? Following some design principles, the team and I cooked up some serious firepower for how we would make a great and smooth experience playing our wonderful little traveler.
GODOT AND COMPONENT-BASED PROGRAMMING
At its core, Godot is a component-based programming system, not unlike building a modular structure made of Lego blocks. And to make the Screw come alive, we must build a section of that system dedicated to our Screw’s possible actions.
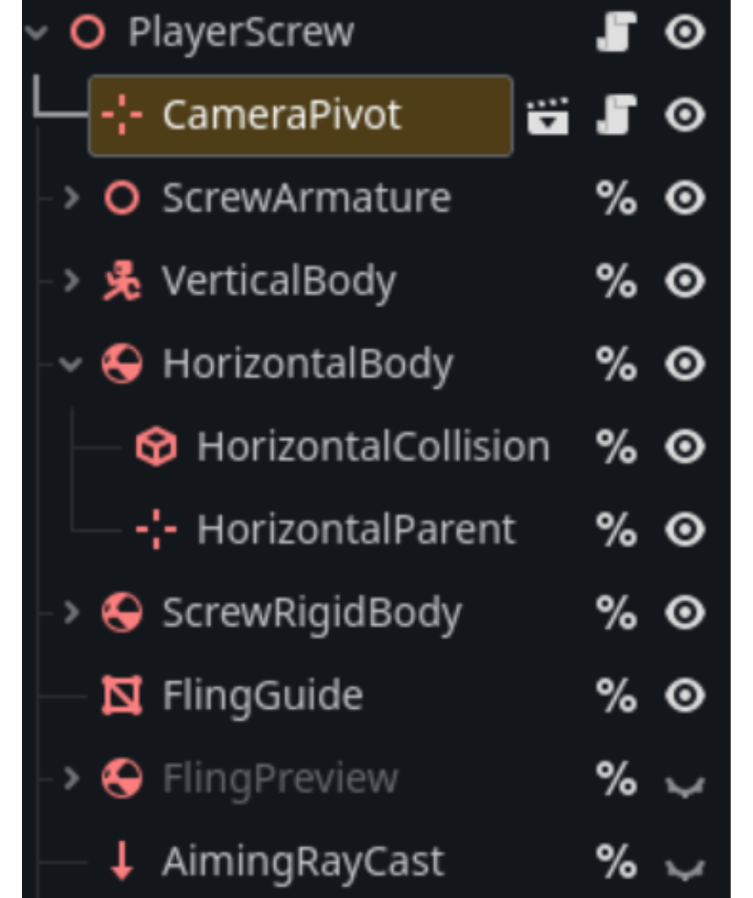
DEFINING STATES
I For initializing our Screw’s different potential states, we need to develop a good understanding of all the possible states our screw can embody: remaining upright in the Vertical State, moving around, falling, getting up, and being attached to an object.
Just as one cannot drive without first getting into the car, we must also build a network to structure how our Screw will move between states and what states are required to ensure cohesive movement.

As shown here, we can devise what is allowed to move into what. As we can see here, Vertical Movement is central to many of our mechanics since all actions always return to the default state. As a result, we can much better visually understand what is happening with our Screw and what its abilities and limitations are. By visualizing this, we can much more easily begin to build foundations.
THE NITTY GRITTY PROGRAMMING
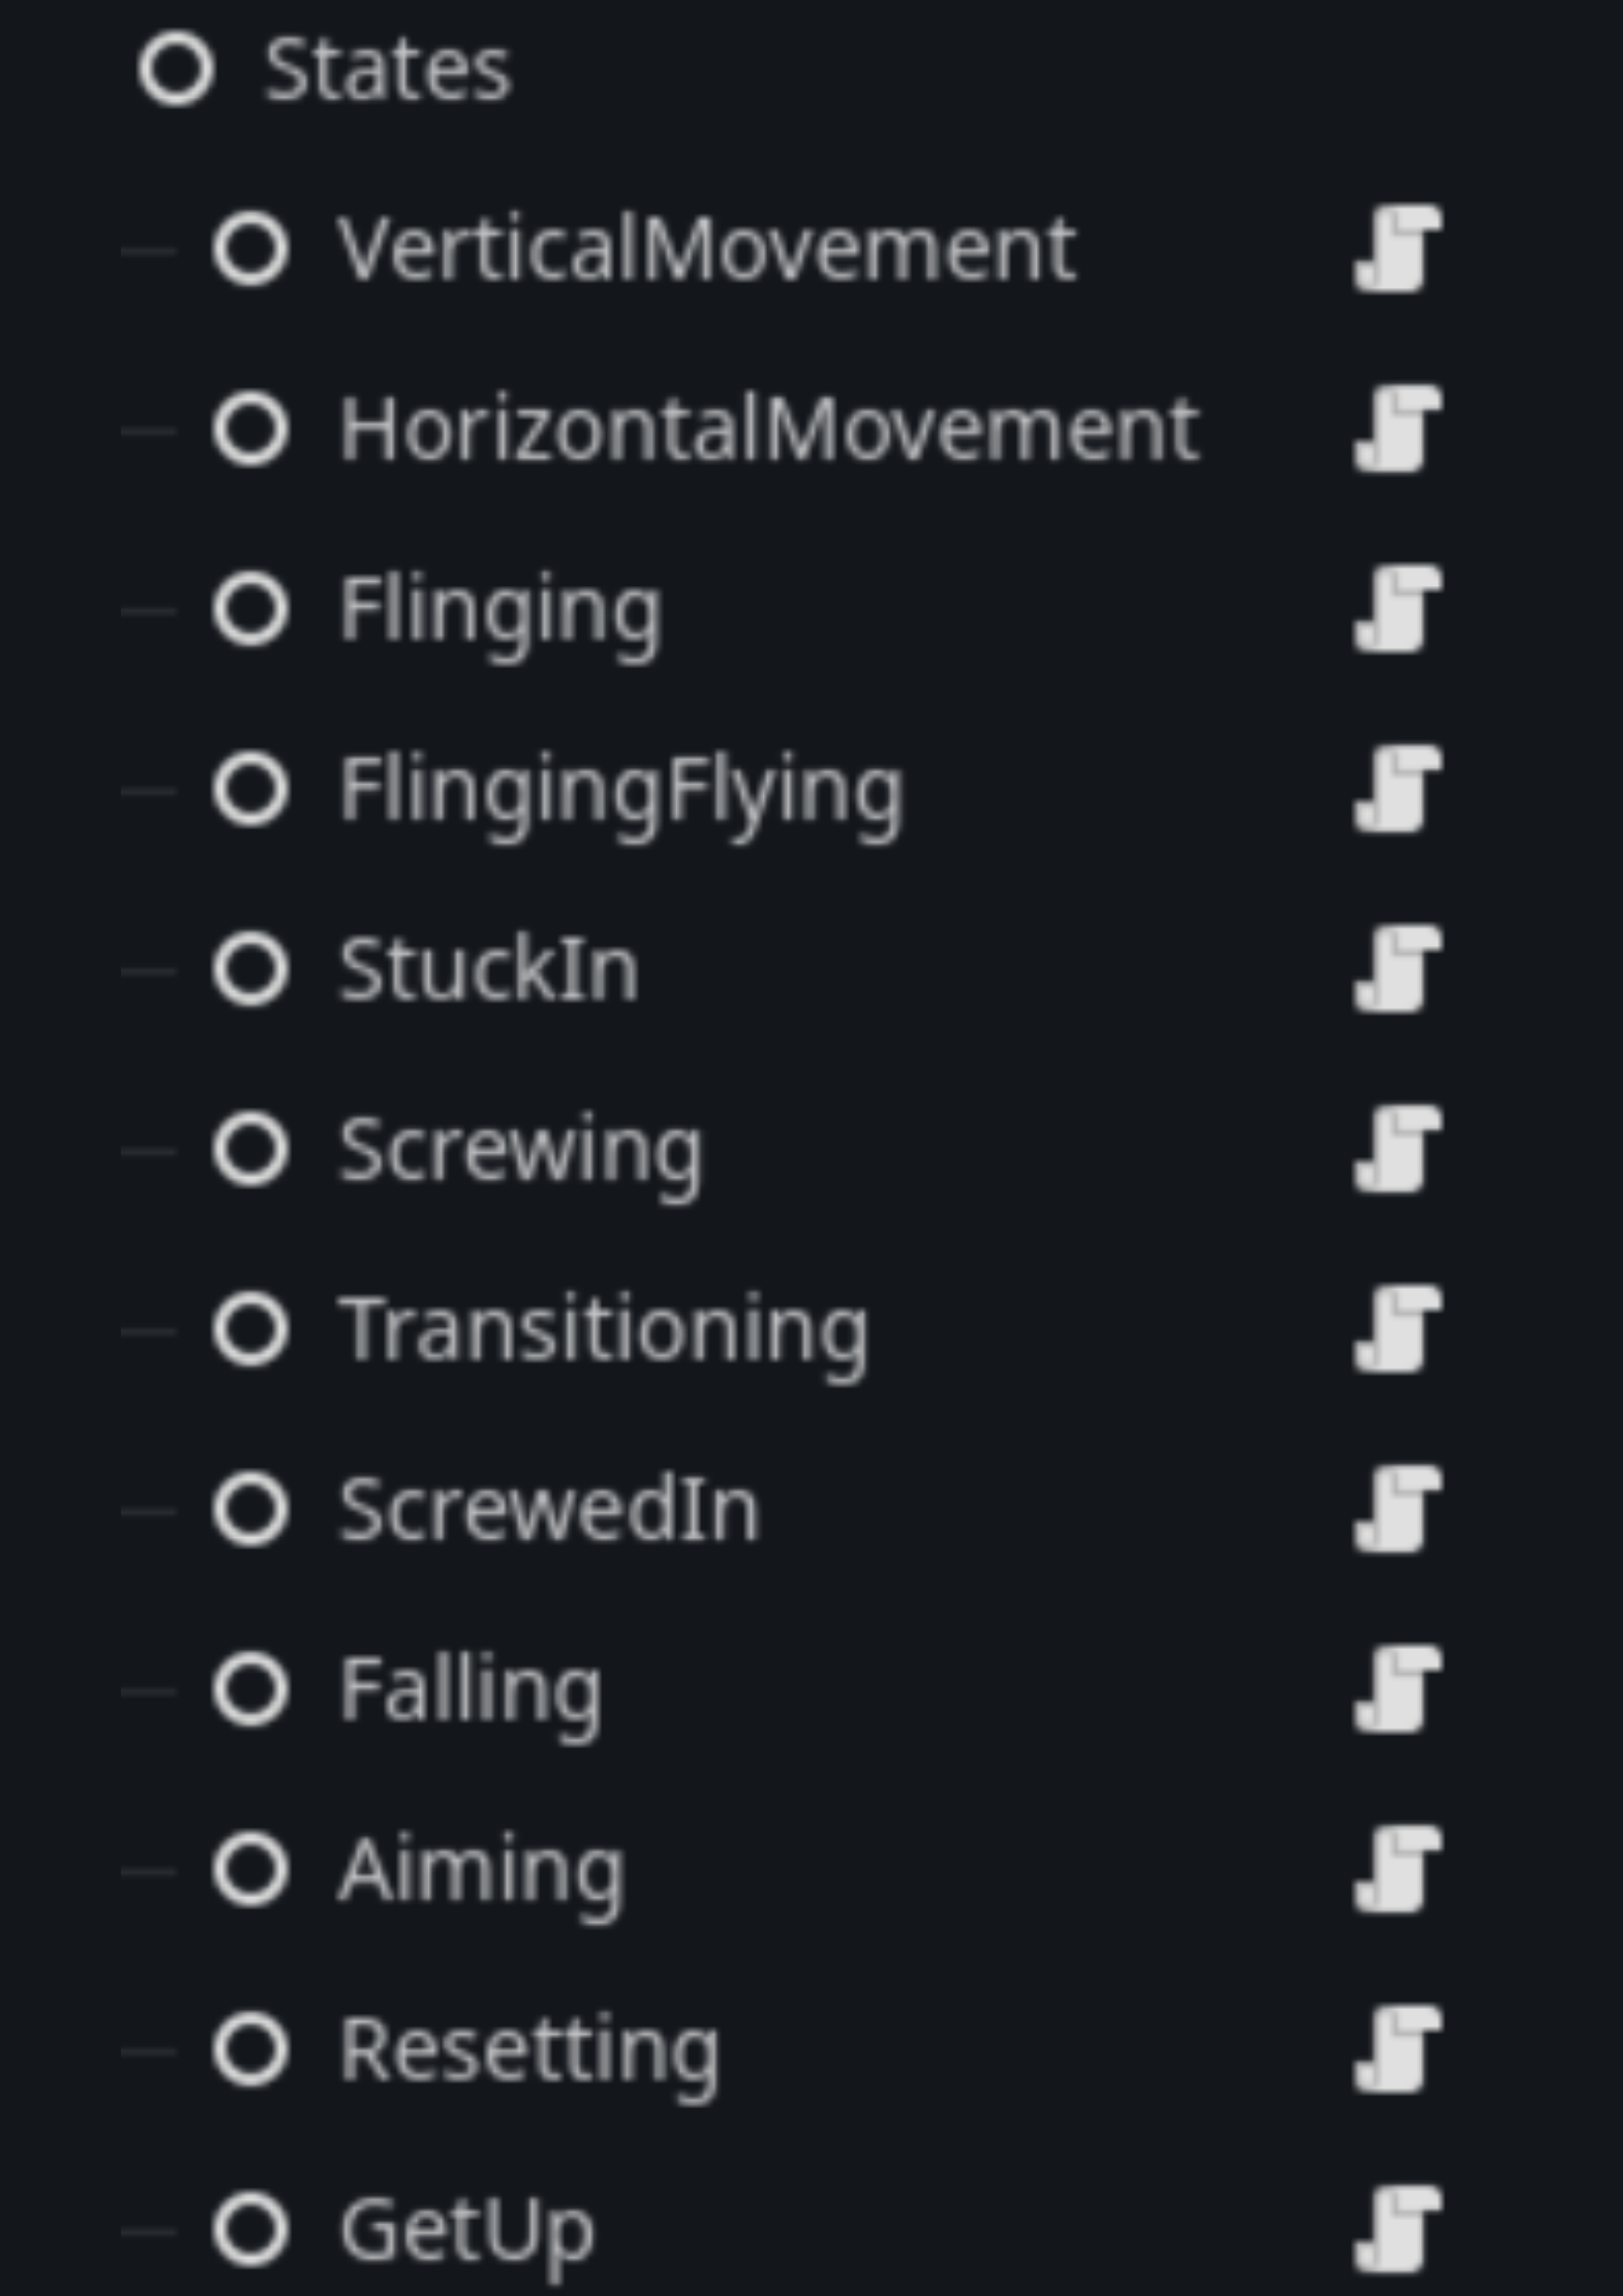
As per Godot’s component based programming, we built a large set of Nodes that each house the possible actions the player can perform, clearly defining their roles in the process.
Each state is comprised of 3 functions that will be processed by the Screw:
Enter_state() -> void:
Run_physics_process(_delta: float)-> void:
Exit_state() -> void:
Each state must implement these functions to help facilitate the state machine that is built into our Screw. The screw compiles this list of states into a Dictionary and now we can assemble our Machine.
Now that we’ve built our infrastructure, we need to get these States to start working!
State Machine Shenanigans
Finally, we assemble our State Machine, located inside the code of the Screw itself. I’ll spare you the code details and go over the core mechanisms. Firstly, the State Machine calls upon the state to enter using its Enter_state() function. This sets up and resets any potentially messy cleanups that may have occurred since we last visited the state.
Next, the State Machine calls upon the State to continually run its own process; this is where all that fun magic happens. The: movement, the tumbling, and flying! This is where the bulk of the work... and bugs occur! When those wonderful conditions are met, like the Screw has begun to fall, we call upon a transition to move ourselves to finally exit. We call our intermediary state, the Transitioning State, and begin our process of cleanup and finally exiting ourselves and into the next State. And thus, the cycle continues!
Making the Screw come to life is a challenging task but one that the team first worked through in layman’s terms. I hope you can take some of these ideas forward with your game development.
Read More…

